Planning
Positioning of the Shower Screen
Learn how shower screen position works with water stops, floor falls, drainage and door clearance to keep water inside the shower area.
Why shower screen position matters
A shower screen is not only a glass divider. Its position establishes the practical edge of the showering area and influences where spray lands, where surface water can travel and how people move through the bathroom.
The screen therefore needs to be planned with the waterproofing, waterstop, finished tile levels, floor falls and waste location—not added as an isolated choice after tiling. The correct detail depends on the shower type, the selected screen system and the project design.
Start with the shower and screen type
A framed enclosure, semi-frameless enclosure, fixed walk-in panel and doorless shower control water differently. An enclosed screen can contain direct spray more effectively, while an open entry relies more heavily on panel length, shower-head direction, floor falls and the distance between the shower and nearby finishes.
For a shower over a tiled hob, the frame or glass line should be coordinated with the inner shower face so the top of the hob does not become an outward-draining shelf. For a level-entry shower, the screen line needs to work with the waterstop and the change in floor falls below the tiles.
How the water-control layers work together
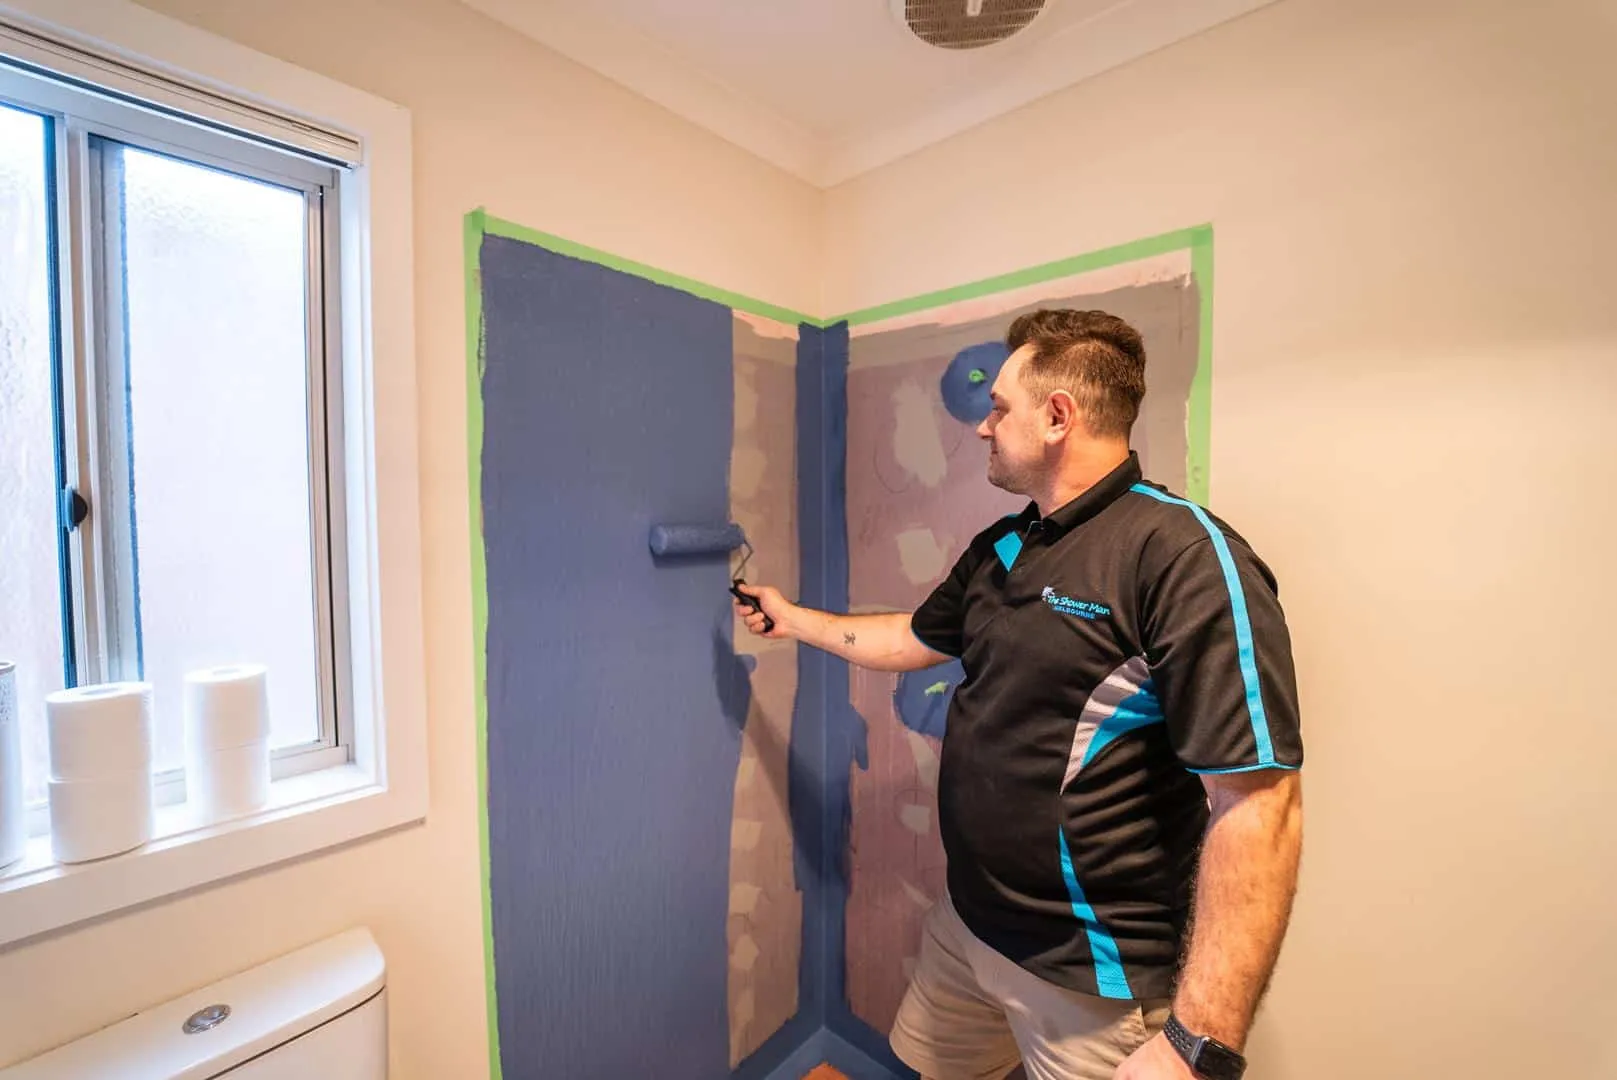
The visible tiles, grout and silicone manage everyday surface water, but they are not the complete waterproofing system. Moisture that passes through surface finishes must still be contained by the waterproofing layer and directed toward the drainage system.
A waterstop marks a containment boundary in the waterproofed construction. The shower screen is normally coordinated at or inside that boundary so direct spray and surface flow remain on the shower side. Exact locations and terminations must be resolved for the specific build by the responsible designer and installers.
- Screen line: controls direct spray and defines the practical shower edge.
- Waterstop: helps prevent sub-tile moisture from migrating beyond the wet-area boundary.
- Floor falls: direct surface water toward the waste rather than toward the opening.
- Drainage: receives both visible surface flow and moisture managed by the underlying system.
- Blue area: shower side of the containment line
- Blue arrows: finished floor falls toward the drain
- Yellow line: waterstop below the finished tiles
- Dark line and arc: screen position and clear door swing
Check floor falls and drainage before glass is measured
The finished floor should send water toward the waste across the whole shower area. A screen installed over a flat spot, backfall or poorly placed change in level cannot correct the underlying drainage problem.
Before final glass measurements, check the tiled levels, the relationship between the screen line and waterstop, the waste position and any channel-drain detail. This is particularly important in level-entry showers, where small changes in level can determine whether water stays inside or escapes through the opening.
Allow for door swing, access and nearby fixtures
A hinged shower door needs a clear path that does not strike a vanity, toilet, towel rail, wall or sloping floor. It also needs usable standing space outside the shower so a person can enter and leave safely.
Confirm the actual door width, hinge side and swing direction before fixing plumbing outlets or ordering glass. In a compact bathroom, a sliding door, inward-opening arrangement where suitable, or fixed walk-in panel may reduce conflicts, but each option changes splash control and access.
- Open the proposed door arc on the floor plan and check every nearby fitting.
- Allow for handles, towel rails and projections, not only the glass edge.
- Keep the entry practical for the people who will use the bathroom.
- Check that an open door will not direct drips onto moisture-sensitive finishes.
Common shower screen positioning mistakes
Many leaks blamed on the screen are really coordination problems between several layers. Silicone may temporarily mask the symptom without changing an outward fall, misplaced waterstop or unsuitable opening.
- Measuring glass before the final tiles and floor levels are complete.
- Placing the screen outside the intended water-containment line.
- Allowing the tiled hob or threshold to fall toward the bathroom.
- Using a short fixed panel where spray can reach the open entry.
- Discovering too late that the door clashes with another fixture.
- Assuming a screen frame or bead of silicone can repair failed waterproofing or drainage.
A practical planning checklist
Set the shower layout early, then have the relevant trades confirm it at waterproofing, tiling and glass-measure stages. Product instructions and project-specific requirements still apply; this guide is general planning information rather than engineering or building-certification advice.
- Choose the screen type and likely opening before finalising the room layout.
- Mark the screen line, waterstop and waste on the same drawing.
- Confirm floor falls on both sides of the proposed screen line.
- Check direct spray direction and the distance to the open entry.
- Test door movement and access using final fixture dimensions.
- Only measure the finished glass opening after tiling is complete.